Install AimDroid on Emulator
- UPDATE-2017-07-01: We have uploaded the modified x86 version of
libart.soandlibart-compiler.so. You can re-install AimDroid. You can check the coverage files at/sdcard/coverage.
The following guide is about how to setup AimDroid on an emulator on Mac OS.
There are simply five main steps.
- Create and start a Nexus 7 virtual deivce
- Install AimDroid
- Reboot
- Configure the controller
- Run
Step 1: Create a Nexus 7 Virtual Device
- Download and install Android Studio from https://developer.android.com/studio/index.html
-
Set
$ANDROID_HOMEto your SDK directory. Append$ANDROID_HOME/build-tools/<your-actual-version>/,$ANDROID_HOME/platform-tools, and$ANDROID_HOME/emulatorto your$PATH1 2 3 4
export ANDROID_HOME=/Users/tianxiaogu/Library/Android/sdk export PATH=$PATH:/Users/tianxiaogu/Library/Android/sdk/build-tools/25.0.3 export PATH=$PATH:/Users/tianxiaogu/Library/Android/sdk/platform-tools export PATH=$PATH:/Users/tianxiaogu/Library/Android/sdk/emulator
Note
Remember to check the actual version of your
build-tools. Mine is 25.0.3. -
Open Android Studio, and then open
AVD ManagerfollowingMenu->Tools->Android->AVD Manager. Create a Nexus 7 virtual device as follows.-
Open
AVD Managerand clickCreate Virtual Device.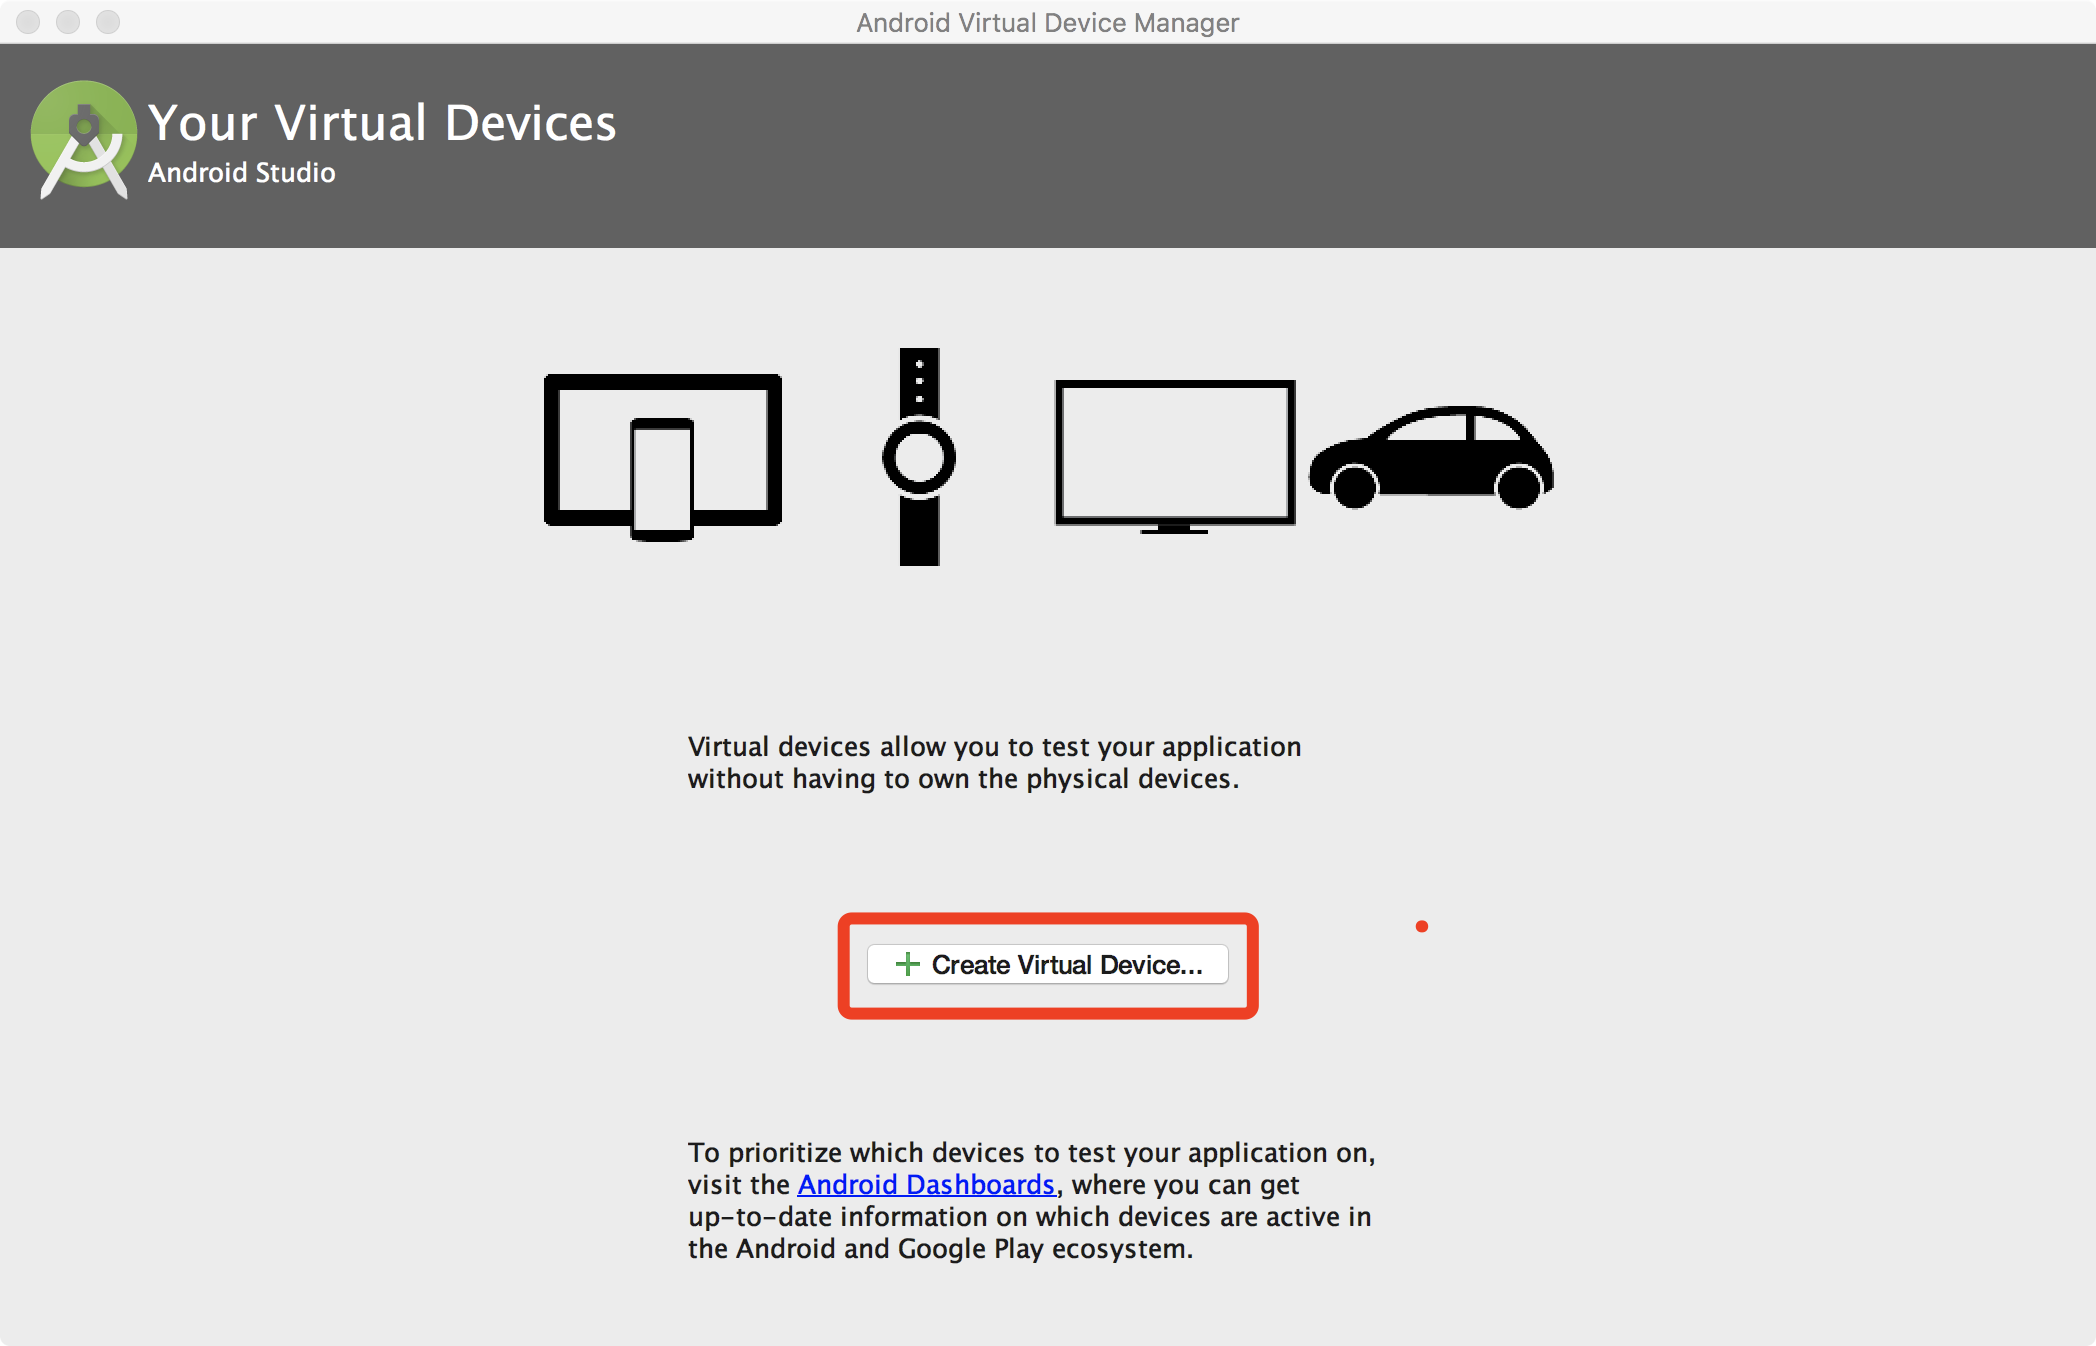
-
In the new window, click tab
Tabletand then selectNexus 7, and then clicknext.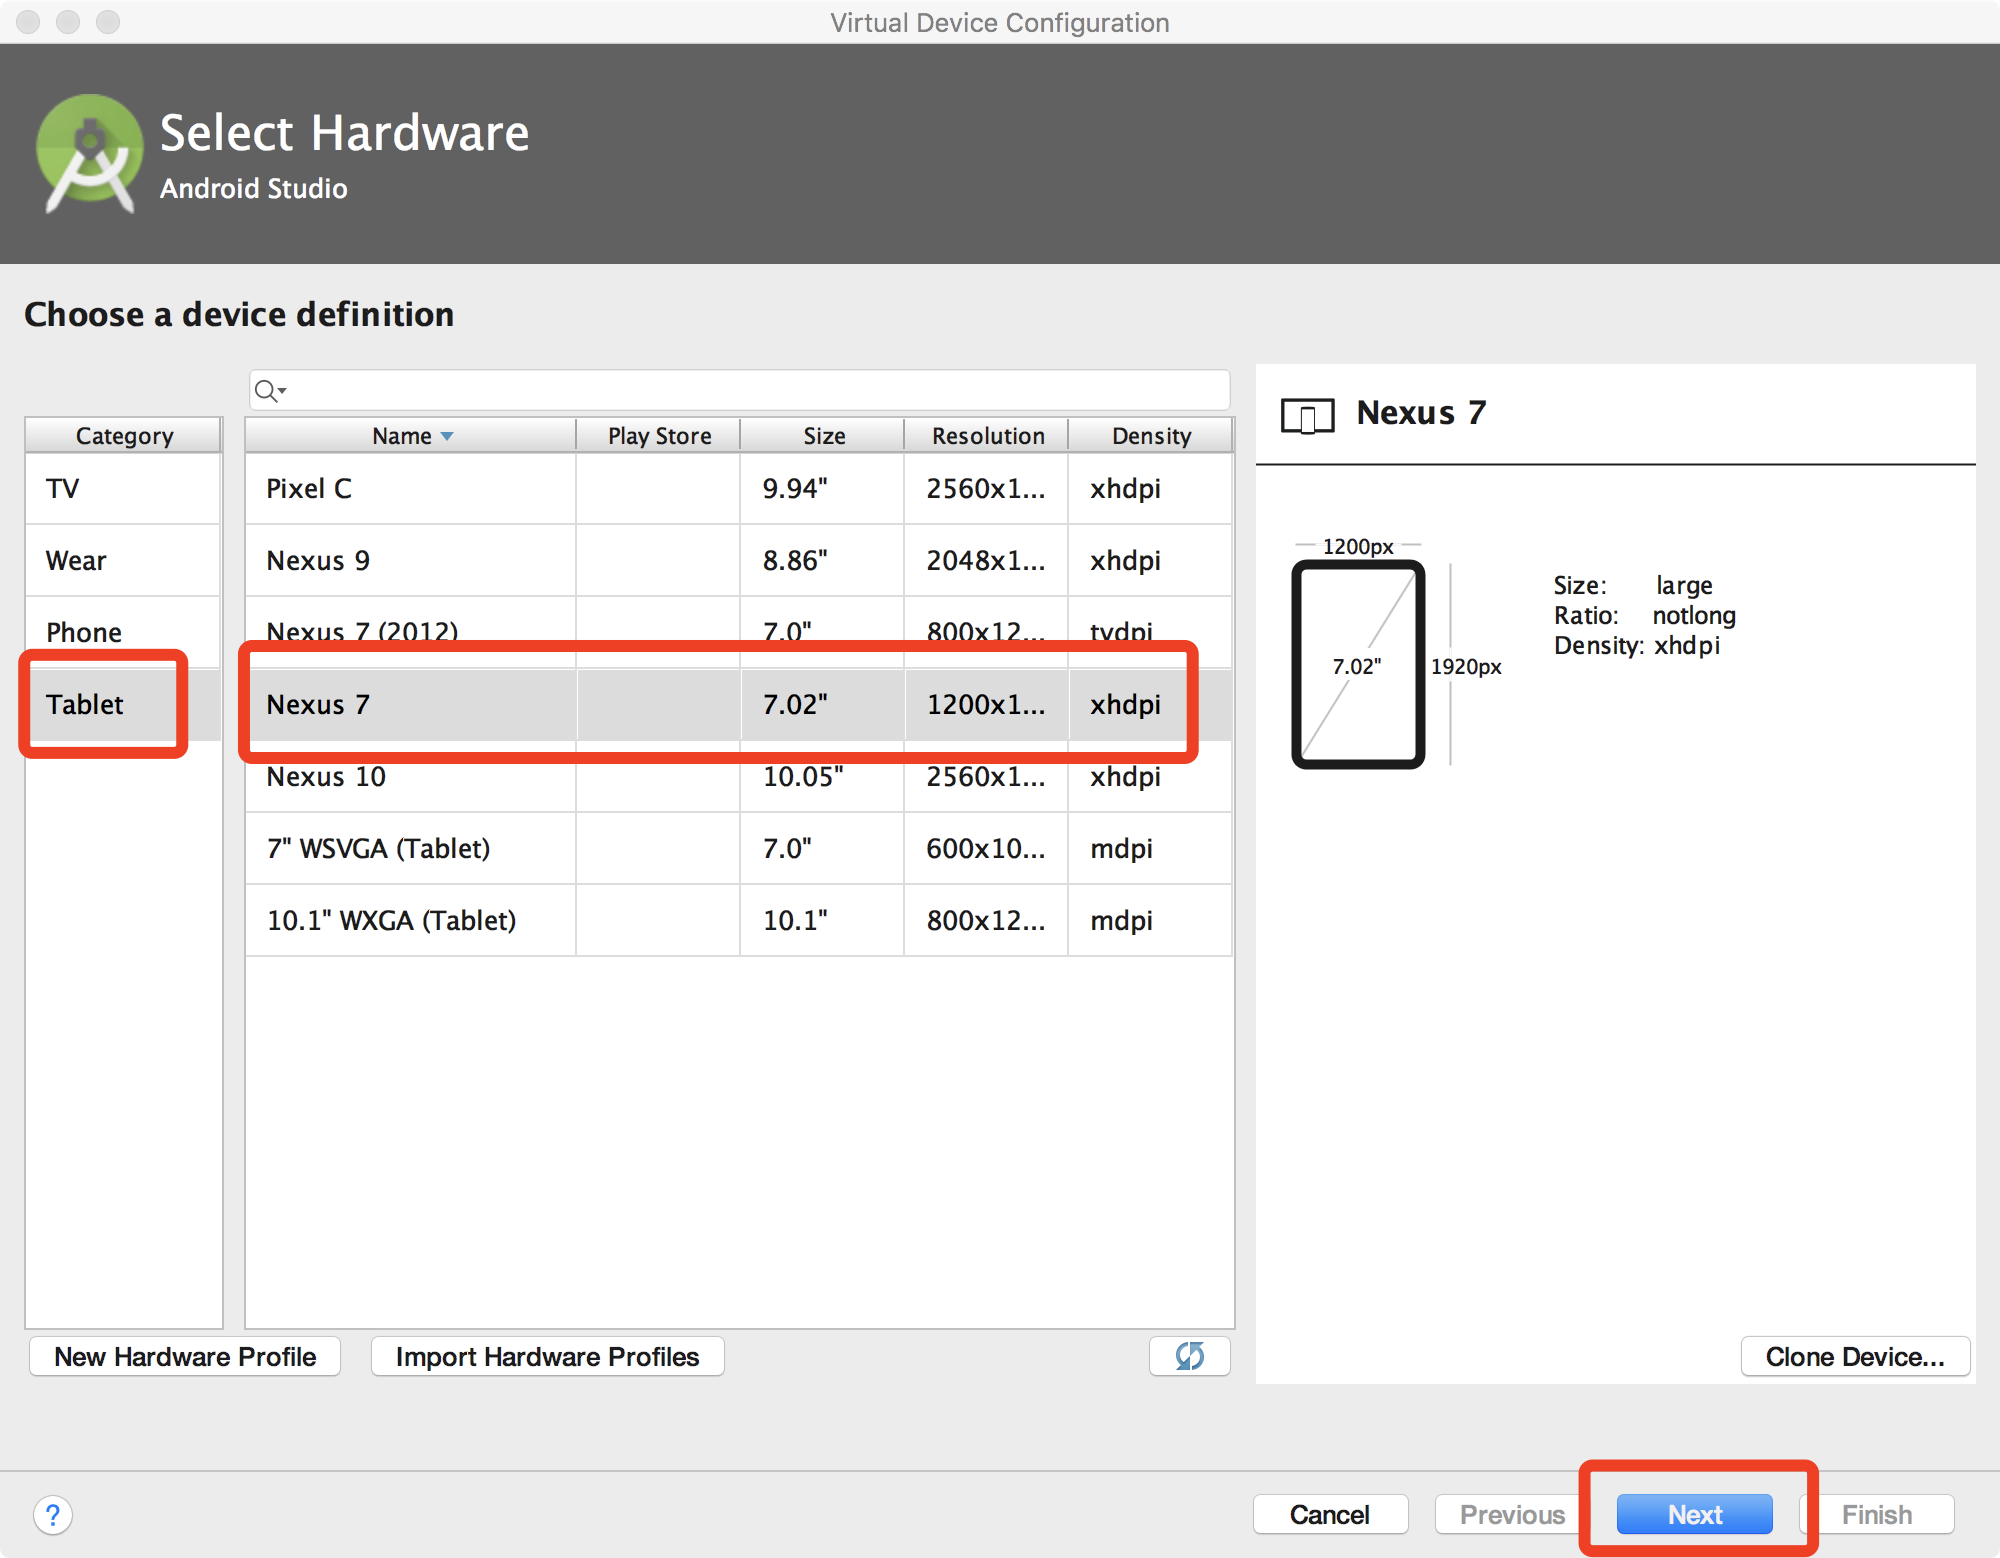
-
In the new window, select the recommended image (marked by red rectangle.) and then click
next. You may need to click the download link first.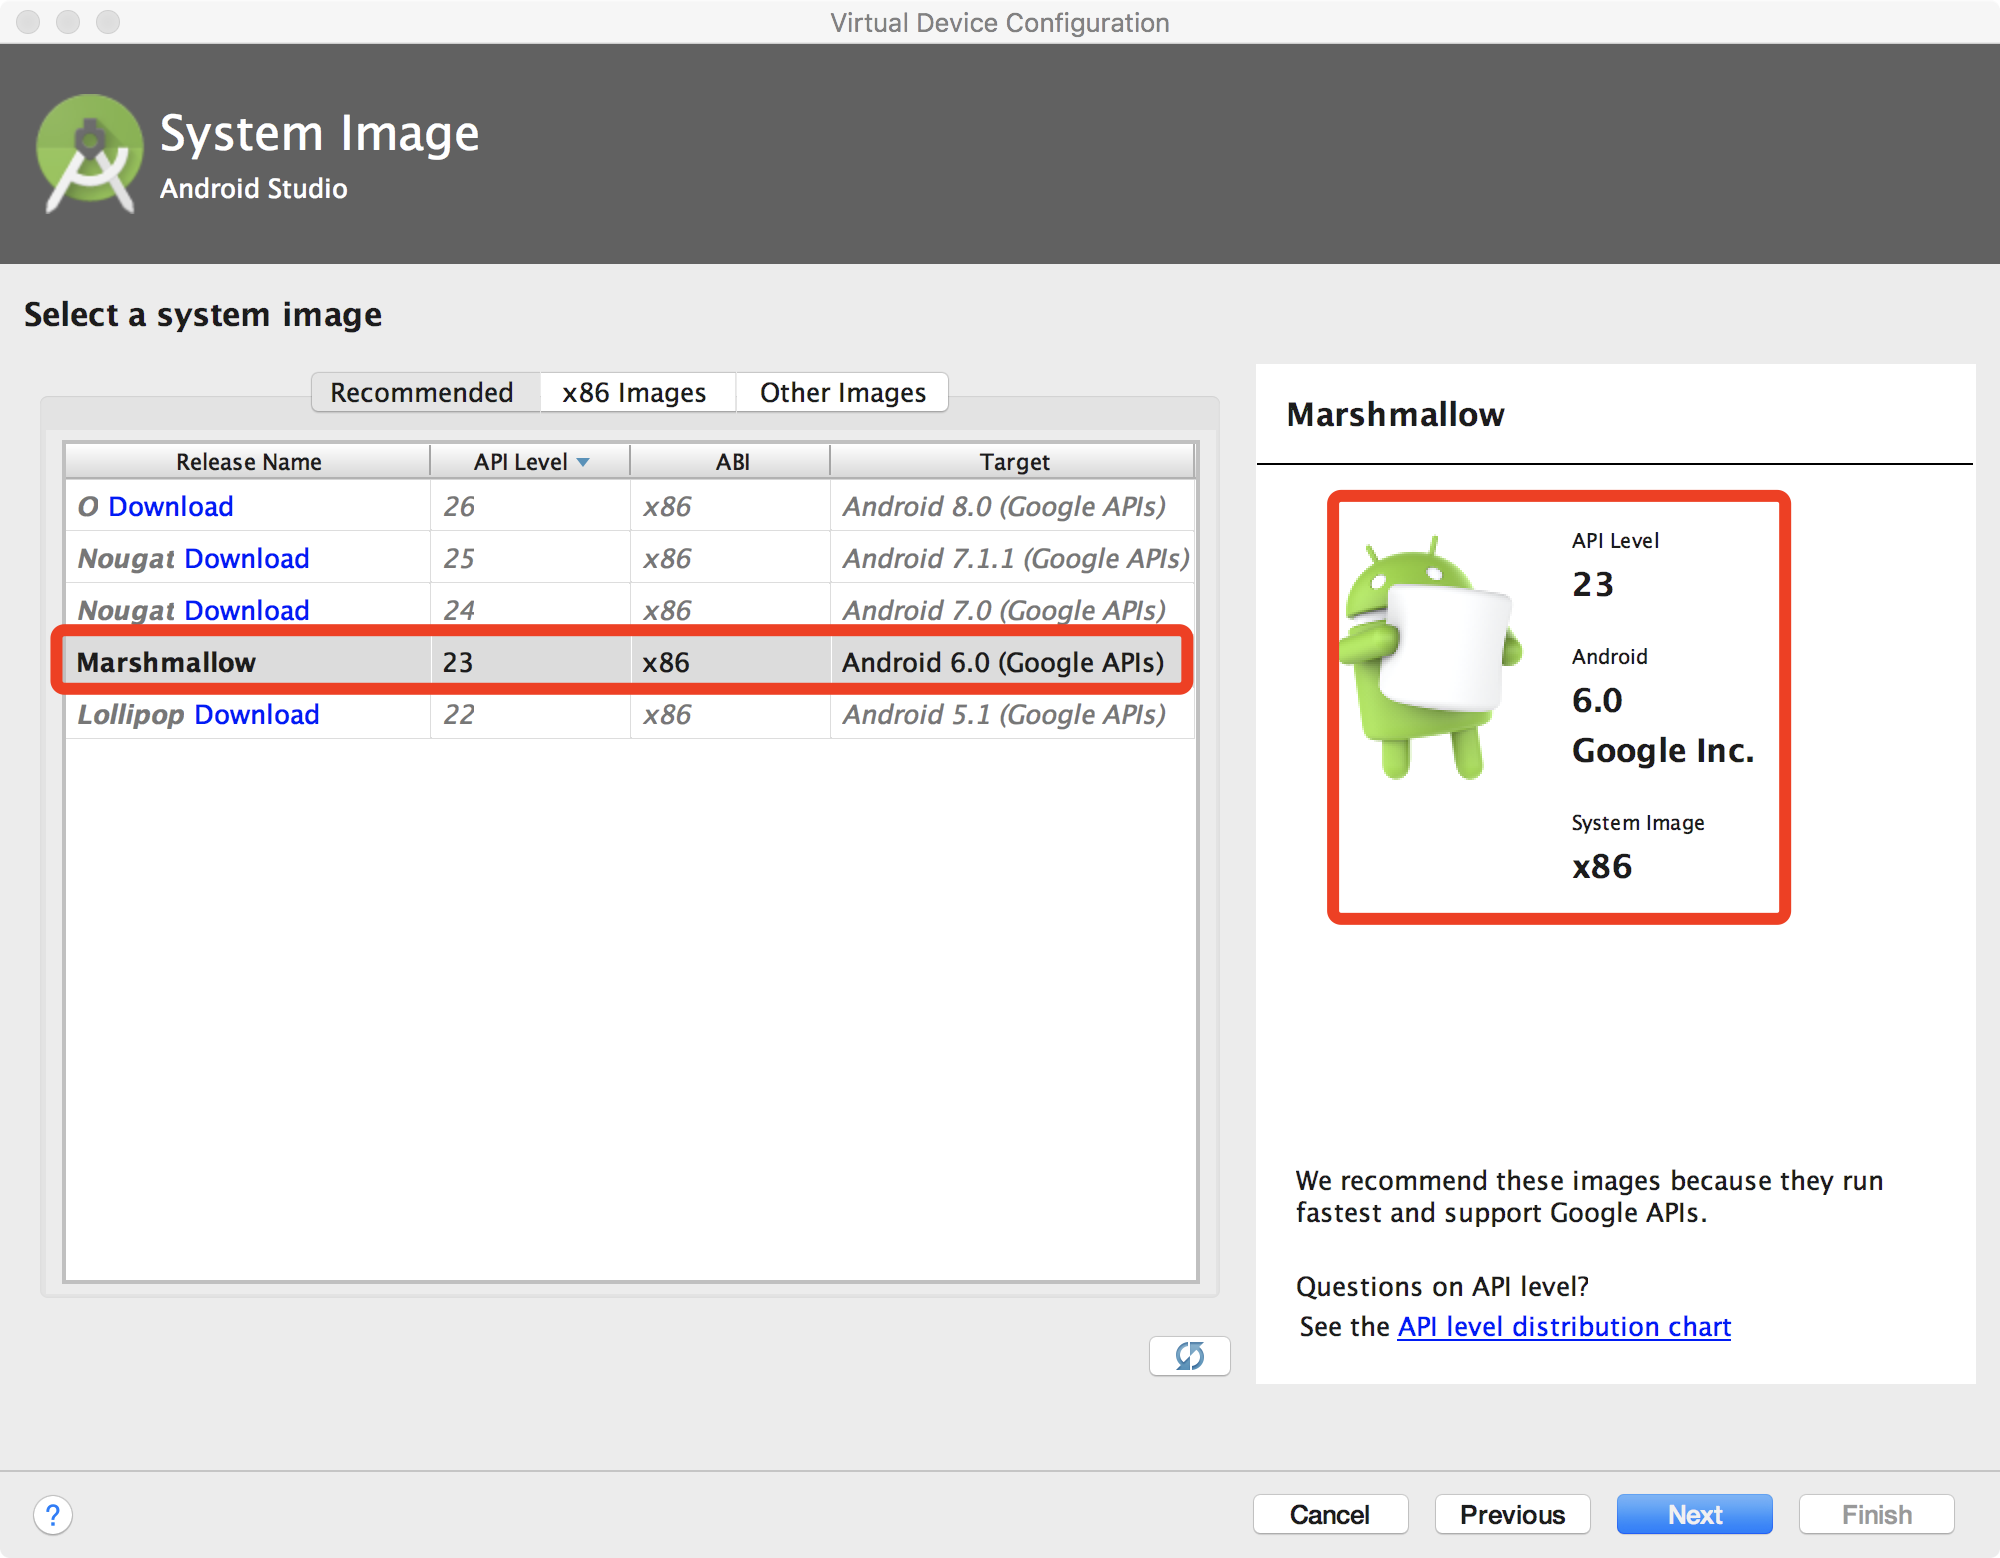
Note
You must select the Marshmallow (Android 6.0) x86 version image.
- Why
Marshmallow? Becuase the current avaiable version of AimDroid is only compatible with Android 6.0, API level 23. - Why
x86? Because first the xposed framework has nox86_64support (http://dl-xda.xposed.info/framework/sdk23/) and second arm based virtual devices are slow.
- Why
-
Input a new name or just remember the default name and then click
Finish.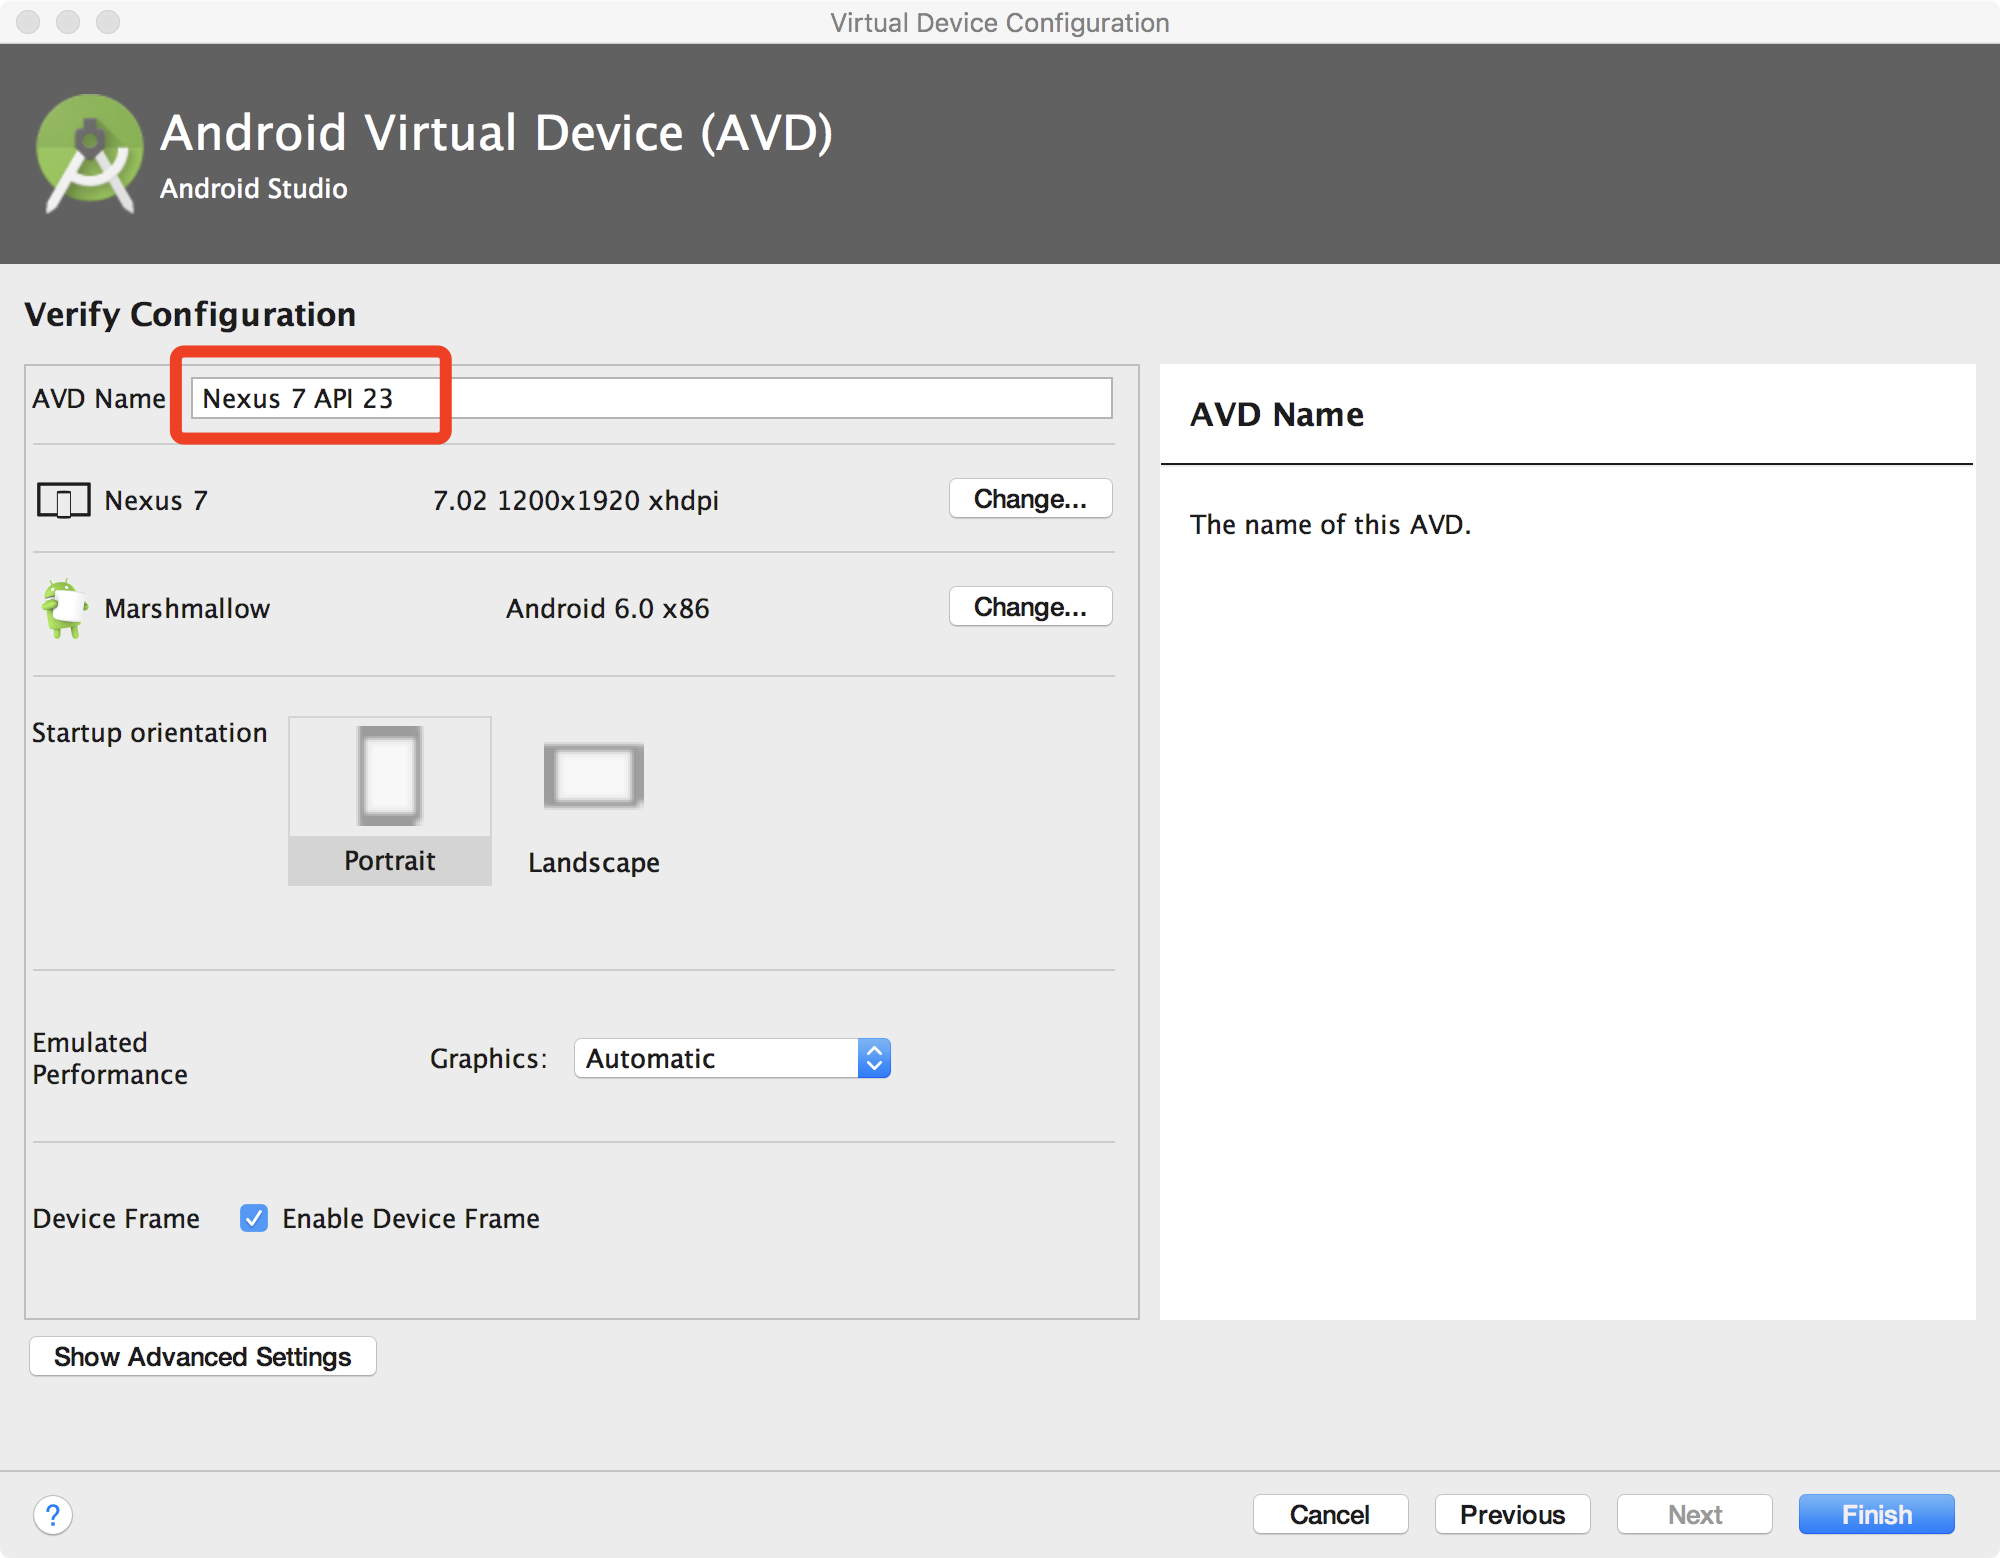
-
Finally, you can see the created virtual device.
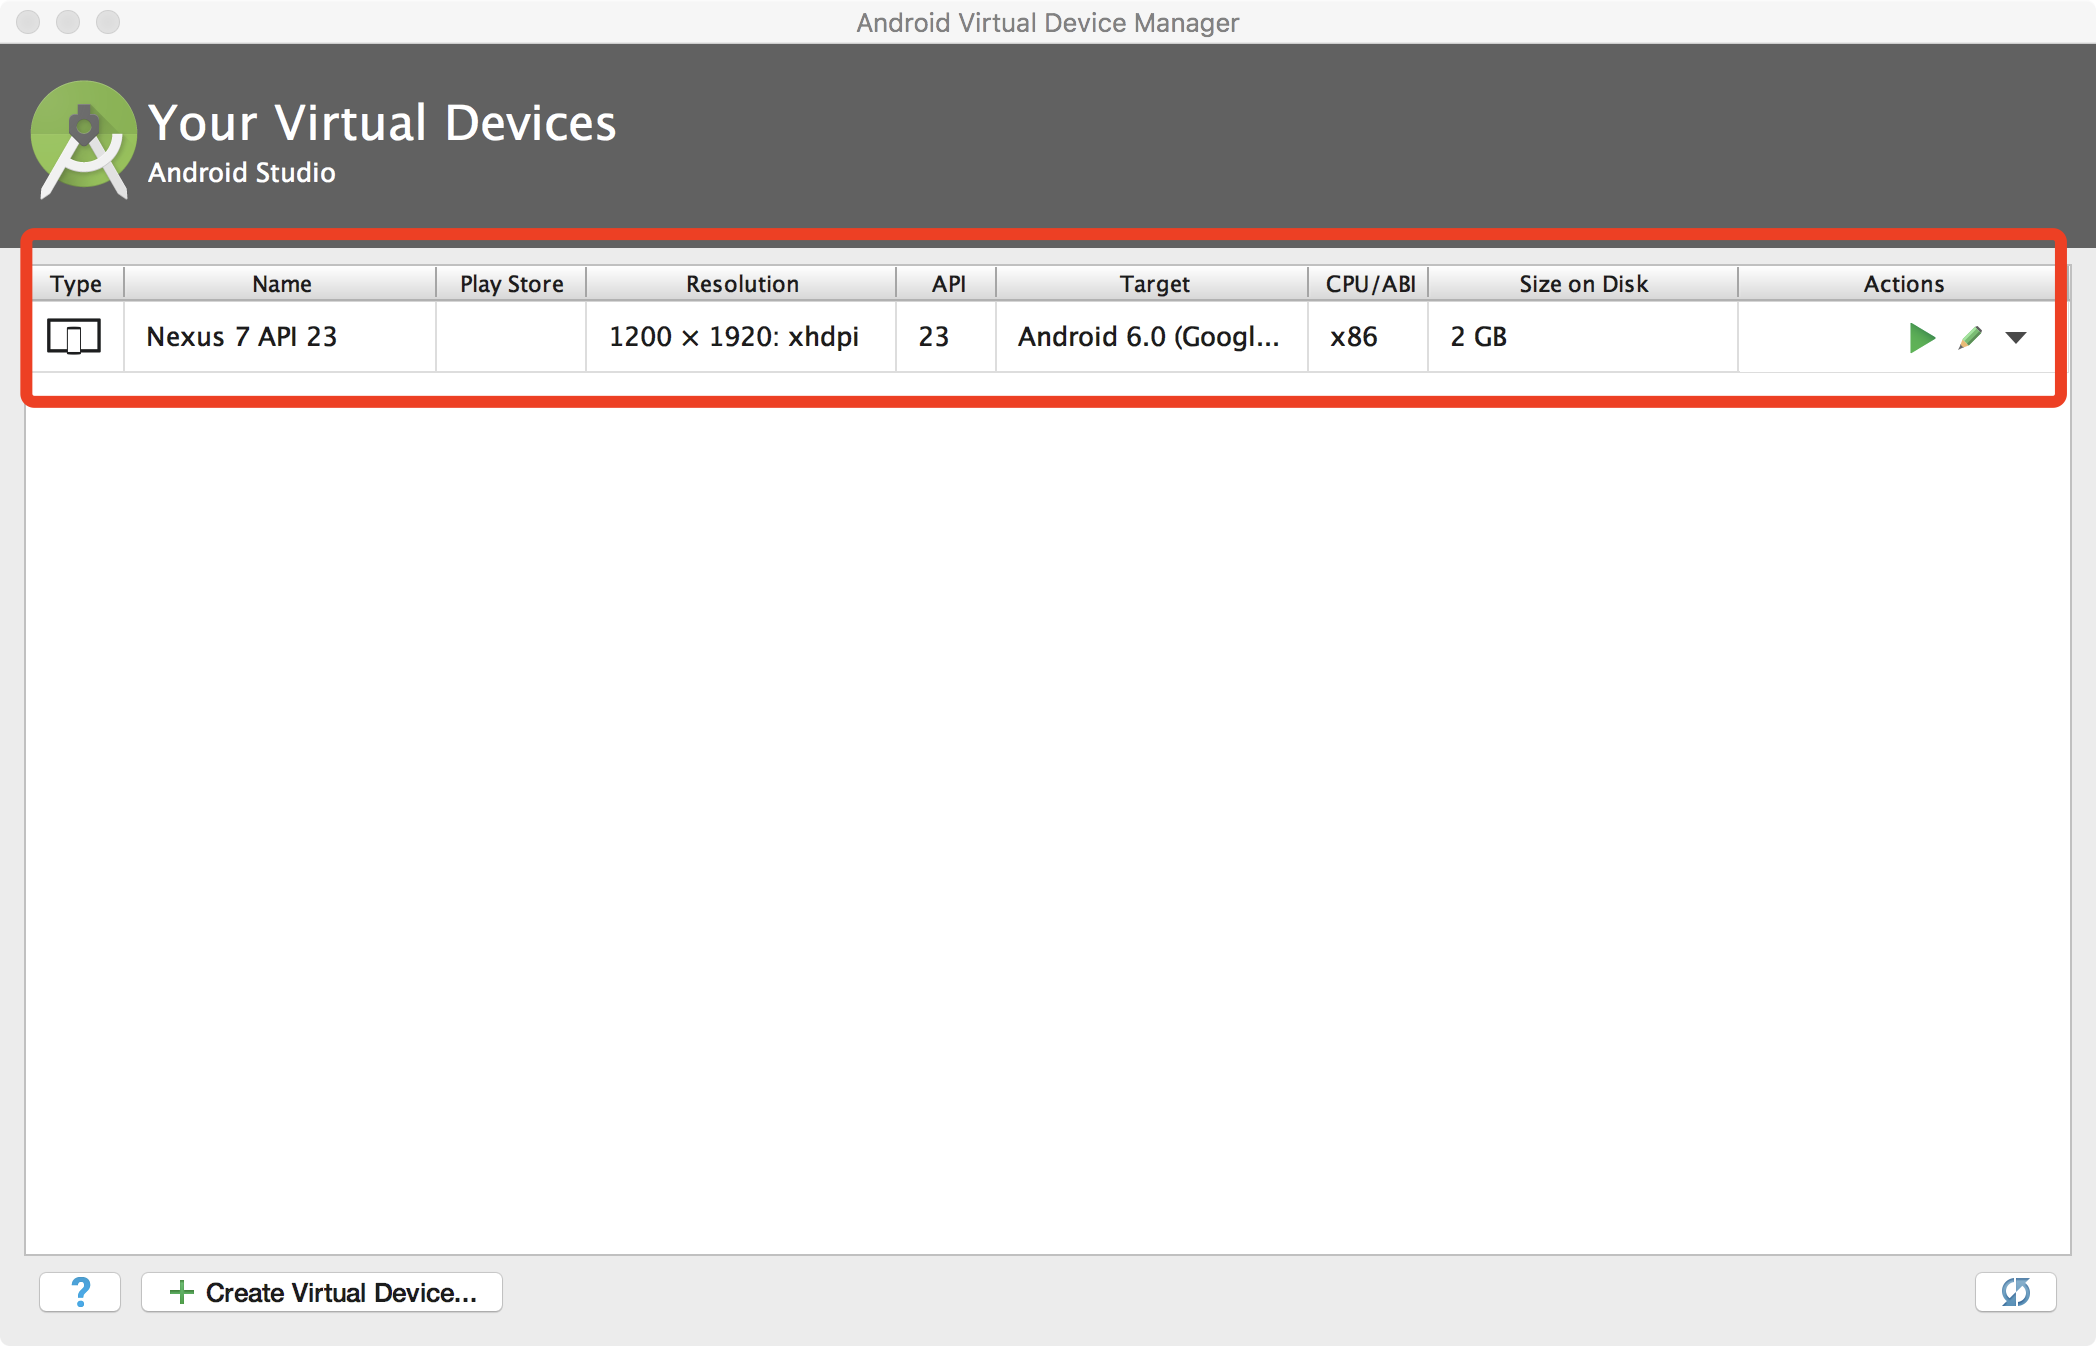
-
-
In the command line, open the emulator from command line and enable
-writable-system. Wait for the emulator to start up.1
emulator @Nexus_7_API_23 -writable-system
Warning
-writable-systemis very important because Xposed needs to modify the files under/system.
Step 2: Install AimDroid.
We have provided all necessary binaries for installing the Xposed framework.
We have created a script (install-emulator.sh) that does the every thing but you should also know the detailed steps in case of any error.
1 | ./install-emulator.sh |
Manual Installation
-
Install Xposed.
1 2
adb push xposed-zip /sdcard/ adb shell "cd /sdcard/xposed && sh flash-script.sh"
-
Install the Xposed Module Manager app.
1
adb install xposed-installer-3-1-1.apk
-
Install
AimDroid-ape1 2 3
adb push ape.jar /sdcard/ adb shell mount -o rw,remount /system adb push ape /system/bin/
Note
The script can also be put into /sdcard/ on Android from 6.0. Here we put it in the
PATHfor convenient. -
Install our modified
libart.soandlibart-compiler.soto collect instruction/method coverage.1 2 3 4 5 6
adb push libart-compiler.so /system/lib adb push libart.so /system/lib adb shell chmod 644 /system/lib/libart.so adb shell chown root:root /system/lib/libart.so adb shell chmod 644 /system/lib/libart-compiler.so adb shell chown root:root /system/lib/libart-compiler.so
-
Install
AimDroid-monitor1
adb install app-debug.apk
Warning
Open
Xposed Installerand enable theMoniDroidmodule.
Step 3: Reboot
-
Reboot the virtual device to enable Xposed
1
adb reboot
Note
During reboot, all apps will be recompiled by the AOT compiler of the ART again. This would take several minutes.
Step 4: Configure the Controller
AimDroid Controller relies on a configuration file configure.json.
You can edit the configure.json in the all-in-one folder.
Here is a sample of configuration file.
1 2 3 4 5 6 7 8 9 10 11 | {
"PackageName":"com.google.android.apps.photos",
"MainActivity":"com.google.android.apps.photos.home.HomeActivity",
"SDKPath":"/Users/tianxiaogu/Library/Android/sdk/",
"Epsilon":0.2,
"Alpha":0.6,
"Gamma":0.5,
"MaxSeqLen":100,
"MinSeqLen":20,
"Time":3600
}
|
Here is the explanation of each option.
PackageName: the app name of the app under test.MainActivity: the entry activity of the app.SDKPath: the path to the Android SDK- We need to run the command
adbto communicate with the phone.
- We need to run the command
Epsilon,Alpha,Gamma: the parameters for the reinforcement learning module. See the paper for more details.MaxSeqLen,MinSeqLen: the length of actions in a single activity. See the paper for more details.Time: the total testing time in seconds.
Note
Put the configure.json into the same directory as the controller binary monidroid.
Step 5: Run
You need to build your own binary of the AimDroid controller. Please refer to the github project of AimDroid-controller.
Simply invoke monidroid from your command line.
1 | ./monidroid |